
Lawn
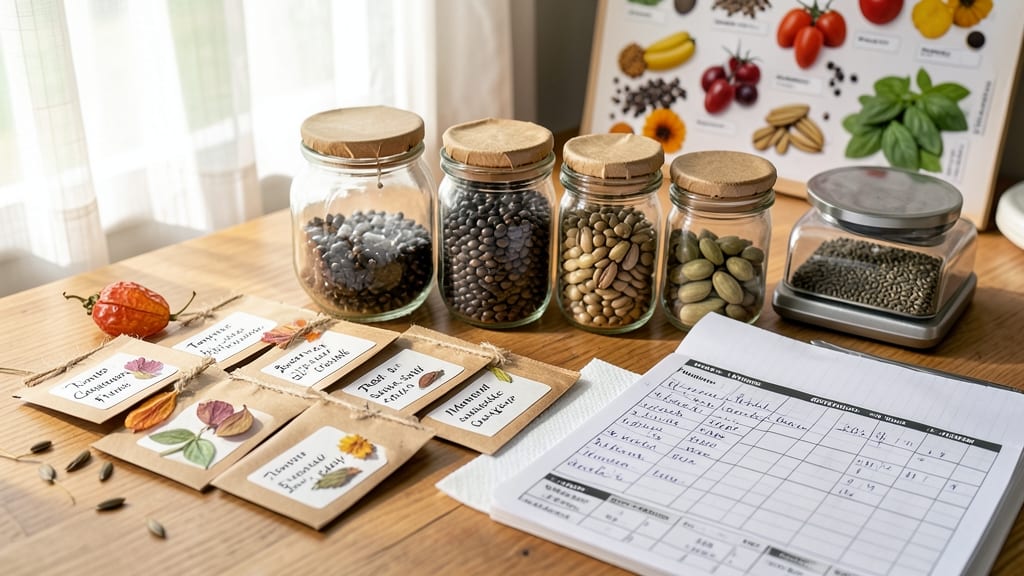
A seed saving chart transforms your garden from a seasonal project into a living seed bank—where every plant you grow today could feed your garden for years. 🌱 I used to waste seeds every year until I started tracking viability, isolation distances, and pollination types.
Now, my heirloom tomatoes and beans produce the same robust plants generation after generation. The key is understanding three things: when to save seeds (usually at full maturity), how to store them (cool, dry, and labeled), and which plants can cross-pollinate.
A simple chart keeps you organized—just list varieties, their days to maturity, and isolation needs. For example, tomatoes need 50 feet between varieties to prevent cross-pollination, while beans can share space. By following this system, you’ll never buy seeds again for your favorite varieties.
The first year is about learning the rhythms of your plants, but after that? You’re set for decades of homegrown harvests. Store seeds in envelopes with their variety name and date, then keep them in the fridge for maximum freshness.
This method works for any garden size—whether you’re saving a few packets or building a full-scale seed library. The best part? You’re preserving not just seeds, but the unique flavors and traits that store-bought varieties can’t match.
📚 In This Guide
- What you need
- Instructions
- Tips and common mistakes
- Wrapping up and next steps
What you need
- ● Plant Variety Labels: Waterproof tags or seed envelopes (50–100+ depending on your garden size). Opt for archival-quality paper or plastic sleeves.
- ● Permanent Markers: 1–2 fine-tip markers (e.g., Sharpie or Pilot) for labeling seeds and charts.
- ● Notebook or Chart Paper: A spiral-bound notebook or large sheet (11" x 17" or larger) for your seed saving timeline.
- ● Ruler & Pencil: For drawing precise columns/rows on your chart.
- ● Seed Storage Containers: Airtight, moisture-proof containers (e.g., glass jars with rubber seals or Mylar bags with oxygen absorbers).
- ○ Digital Scale (Optional): For weighing seeds to monitor viability (0.01g precision recommended).
- ○ Germination Test Kit (Optional): Includes paper towels, spray bottle, and a clear container for testing seed viability.
- ● Plant Database or Seed Catalogs (Digital/Print): For cross-referencing variety-specific viability timelines (e.g., Seed Savers Exchange or Burpee guides).
- ● Calendar or Planner App: To track planting/harvest dates alongside your chart.
- ● Basic Botany Knowledge: Familiarity with plant life cycles (annuals vs. perennials) to tailor your chart.
- ○ Garden Journal (Optional): Past records of planting/harvest dates to populate your chart accurately.
- ● Access to Sunlight/Controlled Environment: For germination tests (e.g., a sunny windowsill or grow light setup).
Instructions: how to use a seed saving chart for long-term viability
This chart keeps your heirloom seeds thriving for generations—here's how to apply it.
📝 Step 1: Identify Your Plant Varieties and Their Categories
First, group your plants by their botanical families and seed-saving requirements. Most seed-saving charts categorize plants into three main groups: self-pollinating (like beans and peas), cross-pollinating (like tomatoes and squash), and specialty crops (like onions and corn).
I always start by listing what I'm growing in my garden. For example, if you have tomatoes, peppers, and lettuce, you'll need to handle each differently. Tomatoes are cross-pollinators, so you'll need to isolate them to maintain variety purity. Lettuce, on the other hand, is self-pollinating and can be saved more easily.
Look for the viability timeline on your chart—this tells you how long seeds from each plant will remain viable. Most garden seeds stay good for 1-5 years, but some, like onions, may only last 1 year before losing germination rates. This is critical for planning your seed-saving schedule.
⏰ Step 2: Determine the Optimal Harvest Time for Seed Saving
Your seed-saving chart will specify when each plant reaches its optimal seed maturity. For example, tomatoes should be left on the vine until they're fully ripe and slightly soft, while beans are ready when the pods turn dry and papery. I always mark these dates on my calendar so I don't miss the window.
Pay attention to the days to maturity listed on your chart. Some plants, like squash, take 90-120 days to produce seeds, while others, like radishes, are ready in just 30 days. This helps you plan your garden layout so you can save seeds from multiple crops in the same season.
Here's the thing—if you harvest seeds too early, they won't fully develop, and if you wait too long, they may shatter or attract pests. For instance, peppers should be left on the plant until they turn completely dry and wrinkled. I like to check them weekly once they start to ripen.
🌱 Step 3: Follow Proper Seed Drying and Storage Protocols
After harvesting, your seed-saving chart will guide you on drying times and conditions. Most seeds need to dry in a cool, dark, and well-ventilated space for 1-4 weeks, depending on the plant. For example, tomato seeds require 2-3 weeks of drying, while lettuce seeds only need 1 week.
I use a mesh bag or paper envelope to air-dry seeds, shaking them gently every few days to prevent mold. The chart will also specify the ideal humidity level (below 30%) and temperature (50-60°F) for storage. Store seeds in airtight containers like glass jars or resealable bags with silica gel packets to absorb moisture.
Don't skip this step—proper drying prevents mold and extends seed viability. If seeds aren't dried thoroughly, they'll spoil quickly. The chart will also indicate whether seeds need to be fermented (like tomato seeds) or stratified (like some flower seeds) before storage.
✂️ Step 4: Test Seed Viability Before Planting Next Season
Your seed-saving chart often includes a germination test protocol. To test viability, place 10 seeds on a damp paper towel in a sealed bag and keep them in a warm (70-80°F) place for 5-7 days. Count how many sprout—if 80% or more germinate, your seeds are still good to plant.
If germination drops below 50%, it's time to replenish your seed stock. Some plants, like carrots and onions, lose viability quickly, so I always test these first. The chart will help you decide whether to save more seeds or order fresh ones.
Real talk: even the best-stored seeds can lose viability over time. I label every container with the variety name, harvest date, and germination percentage so I can track performance year over year. This helps me prioritize which seeds to save and which to replace.
📅 Step 5: Plan Your Seed-Saving Schedule for Future Seasons
Use your chart to create a long-term seed-saving plan. For example, if you're saving heirloom tomatoes, which have a 4-5 year viability, you'll want to harvest seeds every 3-4 years to maintain freshness. For annual flowers, which may only last 1-2 years, you'll need to save seeds more frequently.
I like to organize my seed-saving schedule by plant families. For instance, all nightshades (tomatoes, peppers, eggplants) can be saved together, while legumes (beans, peas, lentils) have their own timeline. This keeps my garden organized and ensures I don't miss any critical steps.
Don't forget to account for cross-pollination risks. If you're growing multiple varieties of the same plant, like tomatoes or squash, you'll need to isolate them by at least 50 feet or use physical barriers like row covers. The chart will often include isolation guidelines to maintain variety purity.
Tips & tricks for mastering your seed-saving chart
Here's what nobody tells you about making your seed-saving chart work flawlessly for heirloom preservation.
Organization is Key: Create a dedicated notebook or digital spreadsheet to track each plant's category, harvest date, and viability timeline. I color-code mine by plant family—nightshades in red, legumes in green—so I can spot trends at a glance. This visual system helps me quickly identify which seeds need attention and which are still viable. For instance, if you're saving both tomatoes and peppers, you'll want to group them together since they share similar drying protocols.
Harvest Timing Precision: Use a small white card to mark the optimal harvest window on your seed-saving chart. For plants like squash with a 90-120 day maturity range, I set calendar reminders 30 days before the expected harvest to start monitoring. This gives me time to adjust my garden layout if needed. Remember, overripe seeds can shatter or attract pests, while underripe seeds won't develop properly—both scenarios waste your time and resources.
Storage Conditions Matter: Invest in a small digital hygrometer to monitor humidity levels in your seed storage area. Maintaining below 30% humidity and 50-60°F temperature is crucial for long-term viability. I store my seeds in repurposed spice jars with desiccant packets, and I always label them with the harvest year. This system has kept my heirloom tomato seeds viable for over five years. For plants like onions with only 1-year viability, I prioritize these in my storage rotation.
Viability Testing Shortcut: When testing germination rates, I use a clear plastic bag with a damp paper towel to create a mini greenhouse effect. This speeds up the process and makes it easier to count sprouts. For plants with 50% or lower germination, I immediately note them on my chart and plan to save fresh seeds the following season. This proactive approach prevents me from wasting seeds that won't perform well.
Pro Tips for Seed Saving Chart
- Here's what nobody tells you about making your seed-saving chart work flawlessly for heirloom preservation.
- Organization is Key: Create a dedicated notebook or digital spreadsheet to track each plant's category, harvest date,...
- Harvest Timing Precision: Use a small white card to mark the optimal harvest window on your seed-saving chart. For pl...
Frequently asked questions
Got questions about seed saving? You’re not alone! Here are some of the most common concerns—and straightforward answers—to help you master the art of preserving seeds like a pro.
How do I know when my seeds are truly viable?
Use a seed viability test by soaking a few seeds in water overnight. If most sink (not all floaters are bad!), they’re likely good. For extra peace of mind, check your seed saving chart—it lists average shelf lives (e.g., tomatoes: 4–6 years; onions: 1–2 years). Store seeds in a cool, dry place to extend their life!
Can I save seeds from hybrid plants?
Not all hybrids will "breed true" (produce identical offspring), but some open-pollinated hybrids or heirlooms work well. Always label seeds clearly! For hybrids, focus on saving seeds from self-pollinating plants (like beans or peas) or research F1 hybrids that stabilize after 1–2 generations. Pro tip: Stick to heirloom varieties for reliable results.
What’s the best way to dry seeds before storing?
Spread seeds in a single layer on a paper towel or mesh screen in a warm, dry spot (like a sunny windowsill) for 1–3 weeks. Stir gently daily to prevent mold. Once completely dry (they’ll rattle in the pod), store in airtight containers (like glass jars) with a silica gel packet to absorb moisture. Avoid plastic—it traps humidity!
How long can I store saved seeds?
Most seeds last 1–5 years, but it varies by plant. Check your seed saving chart for specifics! For long-term storage, keep seeds in the fridge (32–40°F) or freezer (below 0°F) with a desiccant. Test viability every 2–3 years by germinating a few seeds in damp paper towels.
What if my saved seeds don’t germinate?
Don’t panic! First, check storage conditions—moisture or heat are seed killers. If seeds are old, try stratification (cold treatment) or scarification (lightly sanding the seed coat) for tough shells. For stubborn seeds, soak them in lukewarm water for 12–24 hours before planting. If all else fails, it’s time to order fresh seeds!
Wrapping up and next steps
Mastering a seed saving chart isn’t just about preserving plant varieties—it’s about connecting with nature’s rhythm and securing your garden’s future. 🌱 Whether you’re a seasoned gardener or just starting, understanding viability timelines empowers you to make smarter choices for your lawn and crops.
Now that you’re equipped with the knowledge, why not take the next step? Start small: save seeds from this season’s favorite plants, label them clearly, and track their freshness with your newfound chart. Every seed saved is a step toward self-sufficiency and a greener tomorrow!