
Lawn
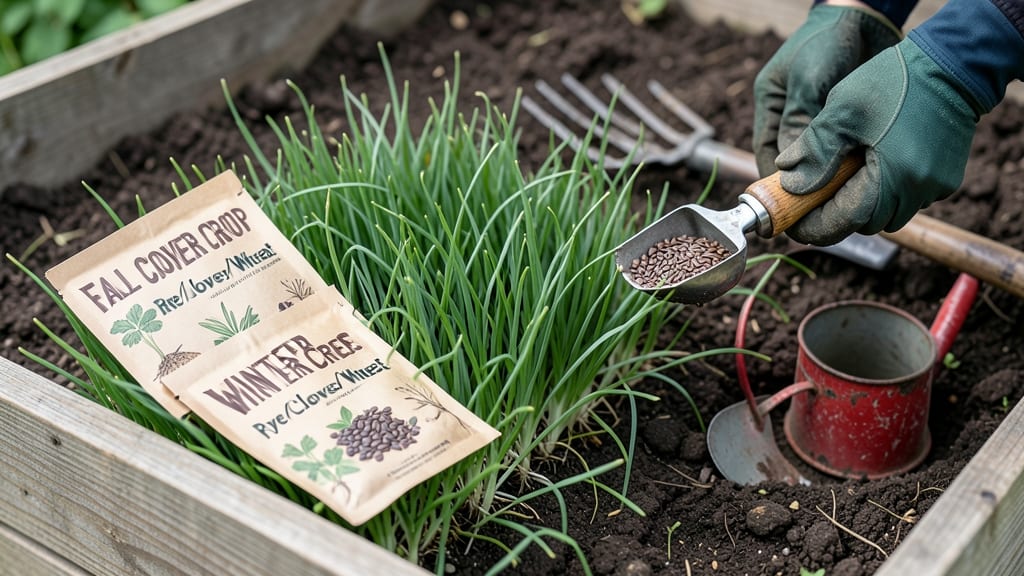
Fall seeding gives you a head start on next year’s vibrant blooms and lush lawns—no spring rush required. 🌱 I’ve seen firsthand how seeds planted in cool weather emerge stronger, thanks to nature’s cold stratification.
The key is timing: plant too early, and frost zaps tender sprouts; too late, and they won’t establish roots before winter. This method works for perennials, wildflowers, and even some vegetables like spinach or kale.
Cold-hardy species like poppies, coneflowers, and clover thrive when sown in late September or October, breaking dormancy early and blooming weeks ahead of spring-planted seeds. The soil stays moist longer, reducing the need for constant watering.
You’ll end up with plants that outperform their spring-sown counterparts—think fuller blooms and denser foliage by summer. The secret? Proper soil prep (loose, weed-free) and a light mulch to protect young roots. It’s a game-changer for gardeners who want to skip the spring scramble.
Works in most climates, though exact timing shifts north/south. Let’s dive into the steps that make this foolproof—even for beginners.
📚 In This Guide
- What you need
- Instructions
- Tips and common mistakes
- Wrapping up and next steps
What you need
- ● Seeds: Choose cold-stratified varieties (e.g., poppies, lupines, or foxgloves). Aim for 1–2 lbs of seeds (adjust based on desired coverage).
- ● Moist potting mix: 5–10 gallons of well-draining, sterile mix (e.g., 50% peat moss, 50% perlite/sand).
- ● Containers: 2–4 shallow trays (10x20 inches) with drainage holes, or paper towels (for wet stratification).
- ● Plastic wrap or lid: To retain moisture without drowning roots.
- ● Labeling tags: Waterproof markers + sticks to track seed types.
- ● Gloves & pruners: For handling seeds and trimming excess growth later.
- ● Seed stratification kit: Pre-made mix or gel for precise moisture control.
- ● Spray bottle: For gentle watering (avoids displacing seeds).
- ● Thermometer: To monitor temps (ideal: 34–40°F for stratification).
- ● Grow lights: If extending indoor stratification beyond winter.
- ● Outdoor space: A sheltered porch, garage, or unheated greenhouse for natural cold exposure.
How to cold-stratify seeds for spring blooms
Fall seeding is where patience pays off—these steps ensure your spring garden bursts with vibrant color.
🌱 Step 1: Select and Prepare the Right Seeds
Not all seeds need cold stratification, but many perennials, biennials, and wildflowers thrive with this process. Check your seed packet—if it says "needs cold stratification," you're in the right place. I focus on hardy varieties like columbine, lupine, and foxglove, which benefit from winter's natural chilling cycle.
Before planting, give seeds a head start by soaking them in lukewarm water for 12-24 hours. This softens the outer coating and kickstarts germination. Drain them well afterward—soggy seeds invite mold. For extra insurance, I mix them with a little damp sand in a sealed container to mimic soil moisture until planting.
🪴 Step 2: Plant in Well-Draining, Protected Soil
Choose a site with partial shade and well-draining soil—these seeds won’t survive soggy conditions. I dig a shallow trench about 1 inch deep and scatter seeds 1-2 inches apart, since they’ll self-thin in spring. For delicate seeds, I mix them with sand first to avoid clumping.
Cover lightly with soil and water gently until the surface looks damp but not glistening. Overwatering now can wash seeds too deep or create a crust that blocks sprouts. A light mulch of straw helps insulate the soil and retain moisture without suffocating the seeds.
☀️ Step 3: Protect and Monitor Through Winter
Mark the planting area clearly so you don’t disturb it in spring. A simple wooden stake with the planting date works—you’ll forget what you sowed by March! I add a 3-inch layer of mulch after the first frost to shield seeds from extreme temperature swings. This mimics nature’s way of gradually exposing them to cold.
Check occasionally for signs of heaving soil or exposed seeds after heavy snow or freeze-thaw cycles. If seeds are visible, cover them with a thin layer of soil or mulch. The goal is to keep them consistently cold (35-45°F) but not frozen solid—this is where the magic of stratification happens.
⏰ Step 4: Wait for Spring Germination
Patience is key—most stratified seeds won’t sprout until late winter or early spring, when soil temperatures rise naturally. I start watching in February, but don’t be surprised if germination takes until April. The first true leaves will appear as small, rounded cotyledons, signaling success.
Once sprouts emerge, thin them to 6-12 inches apart (check seed packet guidelines) to give plants room to grow. If you missed thinning, don’t worry—you can always transplant seedlings later. The real reward comes in late spring when your garden transforms into a riot of color from seeds you planted months ago.
Tips & tricks for perfect fall seed stratification
These simple strategies will help you maximize your garden's springtime success with minimal effort.
Soak Smart: The 12-24 hour lukewarm water soak in Step 1 is your secret weapon for breaking seed dormancy. I've found that using filtered or rainwater (rather than tap water) prevents chlorine buildup that can inhibit germination. After soaking, spread seeds on a paper towel to dry completely before mixing with sand—this prevents mold growth in your sealed container.
Layering Technique: For delicate seeds, create a stratified environment indoors before planting. Mix seeds with slightly damp sand in a sealed container and refrigerate for 4-6 weeks at 35-45°F. This mimics winter conditions perfectly and gives you control over the process. Just remember to check periodically for moisture—soggy sand can cause rot.
Winter Monitoring: When protecting your seeds through winter (Step 3), focus on the "consistently cold but not frozen" balance. I use a simple thermometer buried in the soil to monitor temperatures—this prevents over-mulching which can actually trap too much heat. If you experience extreme temperature swings, consider adding a layer of bubble wrap over the mulch for insulation.
Spring Readiness: Mark your planting area with a clearly labeled stake that includes both the planting date and seed variety. I've lost track of what I planted more times than I'd like to admit! In early spring, gently scratch the soil surface to check for sprouts—this prevents disturbing any shallowly buried seeds that might be ready to emerge.
Pro Tips for Seed In The Fall
- These simple strategies will help you maximize your garden's springtime success with minimal effort.
- Soak Smart: The 12-24 hour lukewarm water soak in Step 1 is your secret weapon for breaking seed dormancy. I've found...
- Layering Technique: For delicate seeds, create a stratified environment indoors before planting. Mix seeds with sligh...
Frequently asked questions
Got questions about planting seeds in the fall for spring blooms? You’re not alone!
Here are answers to the most common queries—so you can get started with confidence.
Why plant seeds in the fall instead of spring?
Fall planting takes advantage of cold stratification—a natural process where seeds experience winter’s chill, breaking dormancy for faster, healthier growth in spring. Plus, fewer weeds compete for space, and cooler temps reduce stress on young seedlings.
How do I know when to plant seeds in the fall?
Time it so seeds have 4–6 weeks of growth before the ground freezes. Check your zone: In Zones 3–5, aim for 6–8 weeks before first frost (e.g., late August–early October). In warmer zones (6–8), stretch it to 2–3 months pre-frost.
Will my seeds survive a harsh winter?
Most cold-hardy seeds (like lupines, sweet peas, and poppies) thrive with a mulch blanket of straw or leaves (3–4 inches). Tender varieties? Plant in containers or greenhouses and move indoors if temps drop below 20°F.
What if I miss the fall window—can I still plant?
Yes! Direct-sow in early spring (as soon as soil is workable), or try artificial stratification: Seal seeds in a damp paper towel, refrigerate for 4–8 weeks, then plant. Some seeds (e.g., foxgloves) may need stratification + scarification (lightly nicking the seed coat).
Pests are everywhere in fall—how do I protect my seeds?
Start with healthy soil (add compost or aged manure). Use row covers or diatomaceous earth for slugs/snails. For rodents, try mesh cages or plant seeds in deeper trenches (1–2 inches down). Avoid fresh mulch—it attracts critters!
My seeds sprouted too early—what now?
If seedlings peek above ground before winter, cover them with mulch (leave a small gap for airflow). Harden them off by gradually exposing them to outdoor temps. If frost threatens, transplant to pots and move to a garage or cold frame.
Wrapping up and next steps
Planting seeds in the fall—especially with cold stratification—is a game-changer for vibrant spring blooms! 🌱 By mimicking nature’s timing, you’re setting your garden up for success with minimal effort. The key? Patience and preparation—your hard work now will reward you with lush, thriving plants come spring.
Ready to take the next step? Start small—pick 2-3 seeds to experiment with this season, then expand as you gain confidence. Grab your gloves, head outdoors, and let your green thumb shine! 🌿