
Propagation
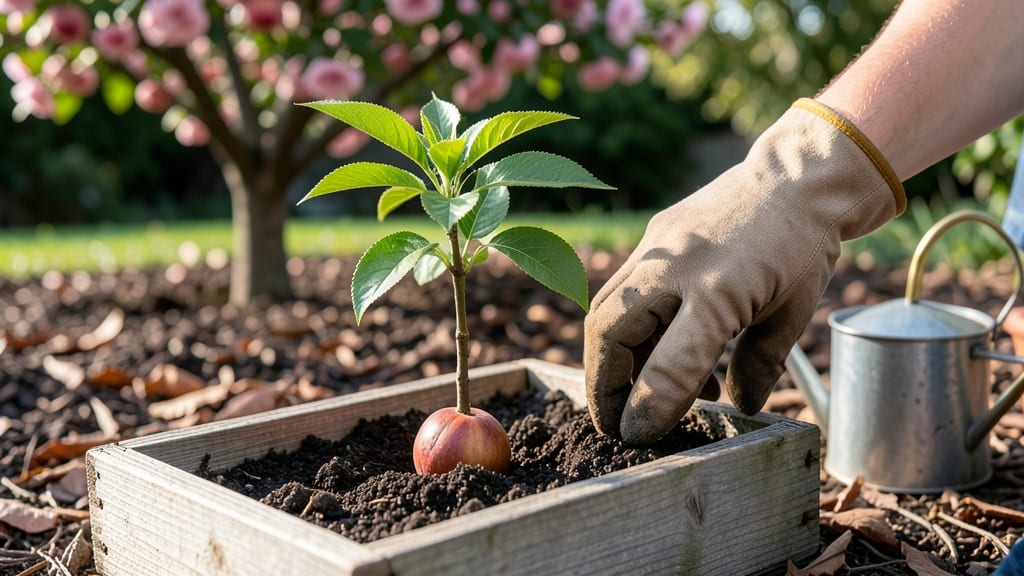
That peach tree from the seed pit in your fruit bowl could grow into a tree—if you give it the right winter chill. 🌱 I’ve turned kitchen scraps into living trees, and a peach seedling is one of the most rewarding projects for patient gardeners.
The key is mimicking nature’s timing: cold stratification tricks the seed into thinking it’s winter, so it’ll germinate like a wildling in spring.
Start with a fresh pit—none of those dried-up store-bought ones. Scrub off the flesh, dry it completely, then wrap it in a damp paper towel inside a sealed bag. Stick it in your fridge for 90 days (that’s the cold stratification magic).
After that, plant it 1 inch deep in moist potting mix and wait for the first green shoot—it could take 2-4 weeks or longer, depending on the seed’s mood.
Once sprouted, give your seedling full sun and tender care. It’ll grow 6-12 inches its first year, but don’t expect peaches—seed-grown trees take 5-10 years to fruit, and those peaches won’t match store-bought varieties.
Still, the fragrant white blooms in spring make every step worth it. Think of it as a living heirloom, not a grocery store replacement.
For best results, plant outdoors after the last frost when the soil warms to 60°F. Mulch to protect young roots, and water deeply once a week—drought stress is the #1 killer of young trees.
Patience pays off: my seedling now stands 8 feet tall and attracts bees like crazy, even if it’s not bearing fruit yet.
📚 In This Guide
- What you need
- Instructions
- Tips and common mistakes
- Wrapping up and next steps
What you need
- ● 1-2 fresh peach pits – Choose organic, ripe peaches for the best germination rates.
- ● Small pots (3-4 inches in diameter) – Use well-draining pots with drainage holes (2-3 pots).
- ● Seed-starting mix or well-draining potting soil – Avoid garden soil; opt for a sterile, light mix.
- ● Plastic wrap or a humidity dome – Helps maintain moisture during germination.
- ● Spray bottle with water – For gentle hydration without over-saturating the soil.
- ● Grow lights or a sunny windowsill (south-facing) – Seedlings need 6-8 hours of light daily.
- ● Scissors or pruning shears – For cutting pits and trimming roots later.
- ○ Plastic bags with holes – Optional for creating a mini greenhouse effect.
- ● Fertilizer (balanced, low-nitrogen) – Like 10-10-10, diluted to half-strength for young seedlings.
- ● Larger container (5-gallon pot or garden bed) – For transplanting after 6-12 months.
- ○ Thermometer (optional) – To monitor soil temperature (ideal: 70-80°F for germination).
Step-by-step guide to growing a peach tree from a seed pit
Here's how to turn that summer peach into a living tree with patience and the right techniques.
🌱 Step 1: Extract and Prepare the Seed Pit
Start by carefully cracking open the peach pit—don't rush this, or you'll damage the seed inside. I like to use a rolling pin or the flat side of a knife to gently tap until the shell splits open. Inside, you'll find a single, flat seed about the size of a small bean. Remove it and rinse off any remaining fruit pulp under cool water.
This seed holds the genetic potential for your future tree, but it needs a little help to break dormancy. Place the clean seed in a small container of water and let it soak for 24 hours at room temperature. You'll see the outer shell soften slightly, which helps speed up germination. After soaking, pat the seed dry with a paper towel—this prevents mold from forming during the next step.
💧 Step 2: Stratify for 6-8 Weeks in Cold Conditions
Peach seeds require a cold period to mimic winter, which triggers germination. Fill a small plastic bag with dampened peat moss or coconut coir—just enough to surround the seed without crushing it. Seal the bag loosely (leave a small opening for airflow) and place it in your refrigerator's crisper drawer, where temperatures stay around 35-40°F. This stratification process takes 6-8 weeks, so mark your calendar.
Check the bag every 2 weeks to ensure the medium stays moist but not soggy. If you see mold developing, open the bag for a few hours to air it out. Once you notice the seed beginning to sprout (a tiny root will appear first), it's ready for planting. This cold treatment is critical—skipping it often results in seeds that never germinate.
☀️ Step 3: Plant in a Pot with Well-Draining Soil
Fill a 4-inch diameter pot with a mix of 50% potting soil and 50% perlite or coarse sand to ensure good drainage. Peach trees hate soggy roots, so this blend prevents rot. Plant the stratified seed about ½ inch deep, pressing the soil lightly around it. Water gently until the soil feels moist but not saturated—you want the top inch to dry slightly between waterings.
Place the pot in a bright, indirect light spot, like a south-facing window with sheer curtains. Avoid direct sunlight at this stage, as young seedlings are delicate. Keep the soil consistently moist (not wet) by misting lightly every 2-3 days. Within 2-4 weeks, you should see the first true leaves emerge—a sign your seedling is thriving. This is the moment you've been waiting for!
🌿 Step 4: Transplant and Care for the Seedling
Once the seedling reaches 6-8 inches tall and has 4-5 sets of leaves, it's time to transplant into a 1-gallon pot with fresh potting mix. Choose a pot with drainage holes and fill it ⅔ full with soil. Gently remove the seedling from its first pot, keeping the root ball intact, and place it in the center of the new pot. Fill around the roots with soil, pressing lightly to eliminate air pockets.
Move the pot to a sunny outdoor location (like a patio or balcony) for 6-8 hours of sunlight daily, gradually increasing exposure over 2 weeks. Water deeply when the top 1 inch of soil feels dry, but avoid overwatering—peach trees are drought-tolerant once established. Fertilize lightly with a balanced 10-10-10 formula every 4-6 weeks during the growing season to encourage strong growth.
⏰ Step 5: Overwinter and Prepare for Blooms
As temperatures drop below 50°F, bring the potted peach tree indoors near a south-facing window or under a grow light for 12-14 hours daily. Reduce watering to every 10-14 days, allowing the top 2 inches of soil to dry out between waterings. Prune any leggy or weak growth in early spring to encourage a bushier shape—this helps the tree develop strong branches for future fruit and blooms.
After 3-5 years, your peach tree may finally produce flowers (and possibly fruit), though it may take longer due to the genetic variability of seed-grown trees. Be patient—each year of growth strengthens the roots and structure. With consistent care, you'll eventually enjoy the reward of homegrown peaches and fragrant spring blooms straight from your kitchen counter experiment!
Tips & tricks for growing a peach tree from a seed pit
This kitchen-to-garden project rewards patience with fragrant blooms—here's how to maximize your chances of success.
Seed Extraction: Real talk—don't use a hammer to crack that pit! A rolling pin or heavy knife works best, but apply even pressure to avoid crushing the seed inside. I've ruined three seeds trying to rush this step—take your time. Once you've exposed the seed, rinse it thoroughly under cool water to remove all traces of fruit pulp, which can cause mold during stratification. This cleaning step is non-negotiable for healthy germination.
Stratification Success: The 6-8 week cold treatment is where most people fail. Don't skip the 2-week checks—this ensures your dampened peat moss stays just right. If you notice condensation inside the bag, open it immediately to prevent mold. I've had seeds sprout after just 4 weeks in the fridge, but these usually don't survive transplanting. Wait for the full 6-8 weeks to ensure hardy roots develop before planting.
Light Management: Those delicate seedlings in Step 3 need bright but indirect light. A south-facing window with sheer curtains works perfectly, but if you're using grow lights, keep them 6-12 inches above the pot and provide 12-14 hours of light daily. Direct sunlight at this stage can scorch tender leaves. I've killed two seedlings by moving them too quickly to full sun—gradual acclimation is key when transitioning outdoors in Step 4.
Transplanting Technique: When your seedling reaches 6-8 inches, handle it like you're moving a fragile vase. Keep the root ball intact by gently squeezing the sides of the original pot while supporting the base. The 1-gallon pot should have drainage holes—no exceptions. I've seen peach trees die from root rot when planted in containers without proper drainage. After transplanting, water thoroughly but let the top inch dry slightly before watering again to prevent soggy soil.
Pro Tips for Peach Tree From Seed Pit
- This kitchen-to-garden project rewards patience with fragrant blooms—here's how to maximize your chances of success.
- Seed Extraction: Real talk—don't use a hammer to crack that pit! A rolling pin or heavy knife works best, but apply e...
- Stratification Success: The 6-8 week cold treatment is where most people fail. Don't skip the 2-week checks—this ensu...
Frequently asked questions
Got questions about growing a peach tree from a seed pit? You’re not alone! Here are some of the most common queries—and their answers—to help you navigate this rewarding (but sometimes tricky) process.
How long does it take for a peach seed to sprout?
A peach seed typically sprouts in 4–12 weeks after planting, depending on temperature and moisture. Keep the soil consistently damp (not soggy) and place the pot in a warm, sunny spot. Patience is key—some seeds take longer, especially if they’re fresh from the pit!
Will my seed-grown peach tree bear fruit?
Probably not in its first few years—and likely never if you’re growing from a store-bought peach pit. Seed-grown trees are not true to type, meaning the fruit may differ wildly from the parent tree (or be inedible). For fruit, consider grafting or buying a grafted sapling instead!
Can I plant a peach pit directly in the ground?
While possible, it’s riskier than starting indoors. Peach pits need stratification (cold treatment) to break dormancy, and outdoor conditions (like frost or pests) may harm the young seedling. For best results, start indoors in a pot, then transplant after the last frost when the seedling is sturdy.
Why isn’t my peach seed germinating?
Common culprits include:
- Dry soil – Keep the medium moist but not waterlogged.
- No stratification – If you skipped the cold treatment, try refrigerating the seed for 4–6 weeks before replanting.
- Old or damaged seed – Fresh pits (from ripe peaches) germinate better.
- Poor drainage – Use a mix of potting soil + perlite to prevent rot.
How big should my seedling be before transplanting outdoors?
Aim for a seedling with 2–4 true leaves and a height of 6–12 inches. Harden it off by placing it outside for gradual daily exposure (1–2 hours) over 1–2 weeks before moving it permanently. Choose a sunny, sheltered spot with well-draining soil.
Wrapping up and next steps
Growing a peach tree from a seed pit is a rewarding journey that blends patience, care, and a touch of magic—turning a simple kitchen discard into a potential fruit-bearing beauty! 🌱 While success isn’t guaranteed, every step you take deepens your connection to nature and the joy of nurturing life.
Once your seedling sprouts, transplant it with confidence, and soon, you might just be harvesting homegrown peaches straight from your own backyard.
Ready to take the next step? Start small:
- Research local peach varieties that thrive in your climate.
- Gather more seed pits and experiment with different propagation methods.
- Share your progress with fellow gardening enthusiasts—inspiration grows together! 🌟