
Propagation
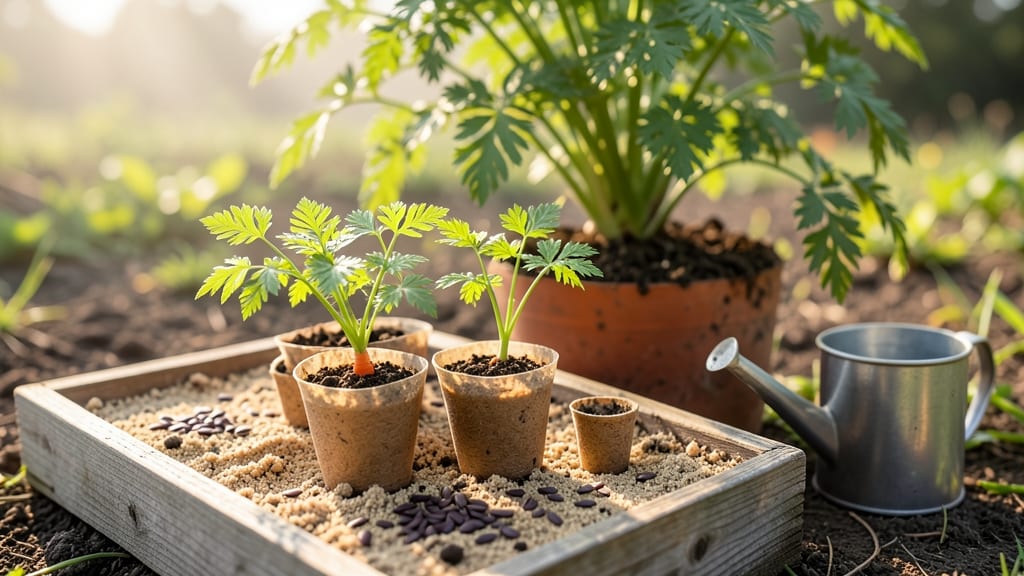
Growing carrots from seed in pots is the secret to crisp, sweet roots even in tiny spaces. 🌱 I used to skip them because I thought they needed deep soil, but my balcony now grows 6-inch carrots that rival store-bought—without the muddy rows.
The trick is choosing the right containers and soil, then mimicking their natural growing conditions.
Start with pots at least 12 inches deep—shallow containers lead to stunted, forked roots. Use a loose, sandy soil mix (carrots hate compacted soil), and sprinkle seeds ¼ inch deep—they’re tiny, so don’t overcrowd.
Place pots in full sun (6+ hours daily) and keep soil consistently moist, but never soggy. Patience is key: germination takes 2-3 weeks, and roots mature in 70 days.
You’ll know you’ve succeeded when you pull up vibrant orange roots with smooth, unbroken shapes—no gnarled mess. The flavor? Sweeter than grocery store because they grow at their own pace.
Plus, no weeding or soil-borne diseases to deal with. This method works for any variety, from classic Nantes to rainbow carrots.
Here’s the catch: avoid overwatering (it causes rot) and thin seedlings to 2 inches apart** once they sprout. If leaves yellow, it’s usually too much water or not enough sun. With these adjustments, even my black thumb grows perfect carrots every time—and so will you.
📚 In This Guide
- What you need
- Instructions
- Tips and common mistakes
- Wrapping up and next steps
What you need
- ● Seeds: Carrot seeds (choose quick-maturing varieties like 'Paris Market' or 'Little Finger' for pots—1–2 tsp per pot).
- ● Containers: Deep pots (at least 12 inches deep)—use 5–6 pots for a small harvest (or one large container for a bigger batch).
- ● Soil: Lightweight, well-draining potting mix (avoid garden soil—it’s too dense! 1 bag per 2–3 pots).
- ● Watering can or spray bottle: For gentle, even moisture (avoid overwatering!).
- ● Fertilizer: Balanced organic fertilizer (like 10-10-10) or compost tea (1 tbsp per pot at planting).
- ● Seed-starting kit: For pre-sprouting seeds (speeds up germination!).
- ● Grow lights: If your space lacks sunlight (12–14 hours/day).
- ● Mulch: Straw or shredded leaves to retain moisture.
- ● Plant markers: To track varieties (fun for kids!).
Step-by-step instructions for growing carrots from seed in pots
Here's how to grow sweet, compact carrots in containers without needing a backyard.
🌱 Step 1: Choose the Right Containers and Soil
Use deep pots at least 12 inches tall—shallow containers stunt root growth. I prefer fabric grow bags because they prevent root circling while still allowing drainage. Fill the bottom 2 inches with coarse sand or perlite to improve airflow and prevent soil compaction.
Next, add 4-6 inches of loose, seed-starting mix (never garden soil—it's too dense). Carrot seeds need fine, crumbly soil to push through easily. I sift the mix through a ¼-inch mesh screen to eliminate clumps, which helps prevent forked roots later. Moisten the soil until it's damp but not soggy—think of a wrung-out sponge.
🌱 Step 2: Sow Seeds Properly for Straight Roots
Scatter carrot seeds thinly—they're tiny, so I use the toothpick method: dip a toothpick into water, touch it to the seeds, then gently tap them onto the soil surface. Space them ½ inch apart in rows 1 inch apart. Cover seeds with ¼ inch of fine soil—any deeper and they won't germinate.
Label each pot with the variety and date—carrots take 60-80 days to mature, and I always forget which pot is which. Lightly mist the soil with water until the surface looks damp but not wet. Place pots in a shady spot (bright indirect light) until germination, which takes 10-21 days.
☀️ Step 3: Provide Consistent Light and Water
Once seedlings emerge, move pots to full sun (6+ hours daily). Carrots need bright light to grow sweet and straight. If your space is shady, supplement with a grow light 6 inches above the plants for 12-14 hours daily. You'll notice leggy, pale seedlings if light is insufficient—this is your cue to adjust.
Water gently at the base using a watering can with a fine rose to avoid disturbing seedlings. Keep soil evenly moist—never soggy. I check moisture by sticking my finger ½ inch deep; if it feels dry, it's time to water. Overhead watering can cause seedling rot, so I avoid it entirely.
✂️ Step 4: Thin Seedlings for Better Growth
When seedlings reach 2 inches tall, thin them to 2 inches apart using clean scissors—pulling risks damaging roots. I make a small vertical cut between seedlings, then gently remove the weaker one. This prevents competition and encourages straighter roots. After thinning, water deeply to help the remaining plants establish.
If you see yellowing leaves or stunted growth, your carrots might be overcrowded. Thin again if needed—3-4 carrots per 12-inch pot is ideal. Mulch with ¼ inch of straw to retain moisture and suppress weeds, which is especially important in containers where soil dries out faster.
🪴 Step 5: Harvest at Peak Sweetness
Check for readiness by gently pulling a test carrot when tops are 4-6 inches tall. The ideal size is ½ to 1 inch in diameter, with a bright orange color. Harvest on a cool morning after watering—roots pull easier when soil is moist. Use two hands: one to grip the carrot, the other to support the pot.
For continuous harvests, sow new seeds every 2 weeks—this extends your season. Store harvested carrots in the fridge for 2-3 weeks or freeze whole for longer storage. If roots split the pot, it's time to harvest—carrots won't grow larger in containers, but they'll be sweeter for it!
Tips & tricks for growing perfect carrots in pots
These simple tricks will help you grow sweet, straight carrots even in small spaces—no backyard required.
Container Depth Matters: Those 12-inch deep pots are non-negotiable for full-sized carrots. I've tried shallower containers, and while you'll get baby carrots, they'll be misshapen. If you're determined to grow longer roots, consider using 24-inch deep grow bags—they're perfect for this purpose. The key is preventing root circling, which happens when roots hit container walls.
Soil Prep Secret: The ¼-inch mesh screen for sifting soil isn't just about eliminating clumps—it's about creating the perfect texture for young carrot roots. Think of it like making a fine crumble: you want soil particles that are small enough for roots to push through easily but not so compacted they resist growth. This single step dramatically reduces forked roots, which is every container gardener's nightmare.
Lighting Hack: If your space only gets partial sun, that 12-14 hours of grow light isn't optional—it's essential for preventing leggy seedlings. I place my grow lights on a timer so I don't have to remember to turn them on and off. The light should be just 6 inches above the seedlings, and you'll notice the difference immediately in their compact, sturdy growth compared to those stretched-out, weak seedlings from insufficient light.
Thinning Technique: When you thin those 2-inch tall seedlings to 2 inches apart, don't just pull—cut! Using clean scissors prevents disturbing the roots of your remaining plants. I also like to thin in stages if I'm really worried about overcrowding. Start with the weakest seedlings first, then wait a week before thinning again if needed. This gradual approach gives your carrots time to establish properly.
Pro Tips for Growing Carrots From Seed In Pots
- These simple tricks will help you grow sweet, straight carrots even in small spaces—no backyard required.
- Container Depth Matters: Those 12-inch deep pots are non-negotiable for full-sized carrots. I've tried shallower cont...
- Soil Prep Secret: The ¼-inch mesh screen for sifting soil isn't just about eliminating clumps—it's about creating the...
Frequently asked questions
Got questions about growing carrots in pots? You’re not alone! Here are answers to the most common queries to help you cultivate sweet, homegrown carrots with confidence.
Can I grow carrots in any pot, or are there specific requirements?
Not all pots work—opt for containers at least 12 inches deep (deeper for longer varieties like ‘Danvers’). Use pots with drainage holes to prevent root rot. Shallow pots (under 6 inches) will yield stunted, woody carrots. Pro tip: Wide, shallow pots work for shorter varieties like ‘Paris Market.’
How long does it take for carrot seeds to germinate in pots?
Carrot seeds are slow starters! Expect germination in 2–3 weeks (sometimes up to 4) in warm soil (60–70°F). Keep soil consistently moist (not soggy) and avoid disturbing seeds. Fun fact: They germinate better in light—don’t bury them too deep (just ¼ inch).
Why are my carrot seeds not sprouting in pots?
Common culprits: old seeds (use within 1–2 years), cold soil (wait until night temps stay above 50°F), or dry conditions. Try soaking seeds in warm water for 24 hours before planting. If seeds sprout but die, check for fungus gnats (use yellow sticky traps) or overwatering.
Can I grow carrots in pots year-round, or do I need to wait for a specific season?
Carrots thrive in cool seasons (spring/fall). In warm climates, plant in early spring or late summer to avoid bolting (flowering). If you live in a hot zone, try shade cloth or quick-maturing varieties like ‘Little Finger.’ Pro tip: Use a grow light indoors for winter growing!
What’s the best way to harvest carrots from pots to avoid damaging the roots?
Gently loosen soil around the base with your fingers or a small fork. Grasp the greens (not the root) and wiggle the carrot free. Rinse off dirt immediately—don’t wash before storing (moisture speeds spoilage). Store in the fridge for up to 3 weeks or freeze for longer shelf life.
Wrapping up and next steps
Growing carrots from seed in pots is a rewarding way to enjoy fresh, homegrown produce—even in small spaces!
With the right containers, soil, and care, you’ll soon be harvesting crisp, sweet roots straight from your balcony or patio. Start small, experiment with varieties, and don’t be afraid to troubleshoot along the way. 🌱
Ready to take the next step? Try planting a few more pots with different herbs or greens to create a thriving mini-garden. Happy growing!