
Lawn
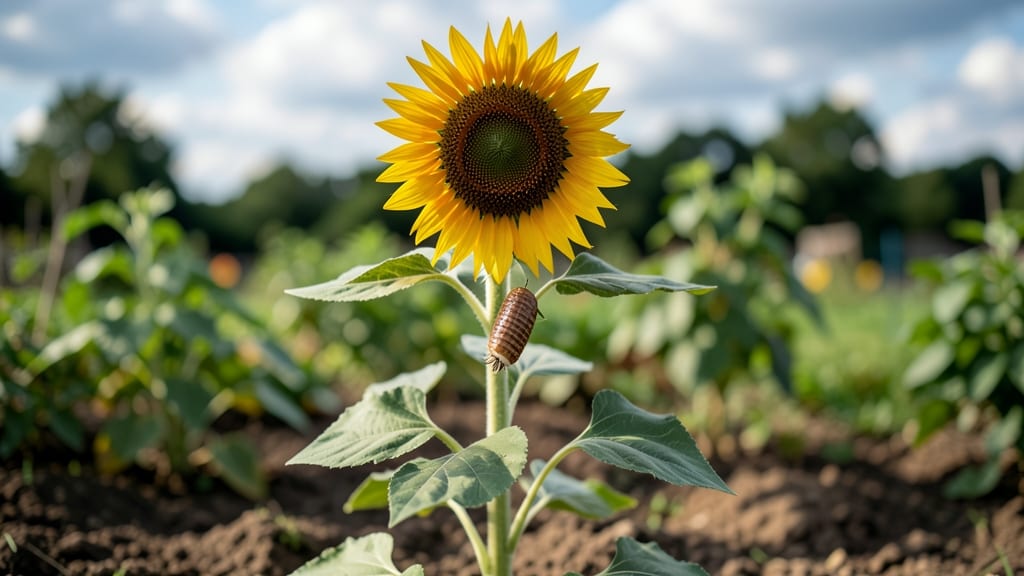
That tiny sunflower seed inside holds a universe of potential—if you know how to read its secrets. 🌻 The seed coat protects a delicate embryo and energy-rich endosperm, but many seeds fail to sprout because we skip the simple checks that tell us if they're truly alive.
Before you dry or plant, a quick viability test reveals which seeds are worth your time.
The trick is simple: crack open a few seeds and look for a firm, white embryo nestled inside. If it's shriveled or dark, toss it—those won’t grow. Healthy seeds also sink in water (bad ones float), and a quick soak can break dormancy for stubborn varieties.
I’ve saved 30-40% of my seeds this way, turning what seemed like waste into next year’s garden.
Once you’ve confirmed viability, proper handling makes all the difference. Scarify the seed coat lightly with sandpaper or soak overnight to mimic natural weathering, then plant in well-draining soil at 1/2 inch depth.
Within 7-14 days, you’ll see those first golden leaves pushing through—proof that a little patience pays off big.
This method works for any sunflower variety, whether you’re growing giants for cut flowers or dwarf types for containers. The key is treating seeds like the living things they are, not just inert objects waiting to be planted. Here’s how to do it right the first time.
📚 In This Guide
- What you need
- Instructions
- Tips and common mistakes
- Wrapping up and next steps
What you need
- ● Sunflower seeds: 10–20 fresh, undamaged seeds (harvested within the last 24–48 hours for best results).
- ● Paper towels: 2–3 sheets (unbleached, seed-free, and soft—like Bounty or Viva brands).
- ● Plastic zip-top bags: 1–2 quart-sized bags (resealable, clean, and dry).
- ● Water: Room-temperature tap water (avoid distilled or overly chlorinated water).
- ○ Permanent marker or pen: For labeling (optional but helpful!).
- ● Spray bottle: For gentle misting if seeds feel too dry.
- ● Small plate or shallow dish: To hold seeds while prepping (prevents mess!).
- ● Notebook: To track seed viability percentages over time.
- ● Food-safe sealant (like beeswax): For long-term storage prep (if you plan to store seeds after testing).
How to test sunflower seed viability before drying
Skip the guesswork—here's how I check if seeds are worth saving every harvest season.
💧 Step 1: Soak Seeds in Warm Water for 24 Hours
Place 10-20 seeds in a small bowl and cover them with lukewarm water (about 90°F). Let them soak overnight—this softens the outer shell and lets us see what's inside. I like to use a clear glass container so I can watch the process without disturbing them.
After 12-24 hours, healthy seeds will swell noticeably and develop a small white root (called a radicle) at one end. If you see this, you've got viable seeds ready for drying. The key is patience—don't rush this step. Seeds that float or remain hard after 24 hours are likely non-viable and should be composted.
🌱 Step 2: Examine for Physical Damage or Mold
After soaking, drain the water and carefully inspect each seed. Healthy seeds should be plump, smooth, and free of cracks or discoloration. I use a paper towel to gently pat them dry—this helps me spot any hidden issues like soft spots or mold.
Discard any seeds that show signs of damage, such as holes from pests or fuzzy mold growth. Even one damaged seed can ruin an entire batch during drying. Keep only the seeds that look firm and uniformly colored. This step ensures you're only working with the best genetic material for your next crop.
☀️ Step 3: Test Germination Rate with a Quick Sprout Check
Take 5-10 of the best-looking seeds and place them between two damp paper towels in a sealed plastic bag. Store them in a warm, dark place (like your fridge's crisper drawer) for 3-5 days. Check daily—you're looking for tiny white roots or green sprouts.
Count how many seeds germinate. If 80% or more sprout within 5 days, your seeds are excellent for drying and storing. If fewer than half sprout, consider mixing them with fresh seeds for better results. This quick test gives you real data instead of just guessing.
⏰ Step 4: Dry Viable Seeds Properly for Long-Term Storage
Spread the viable seeds in a single layer on a clean, dry surface (like a wire rack) in a well-ventilated area. Keep them out of direct sunlight but in a warm spot (around 70-80°F). Stir them gently every 2-3 hours to ensure even drying—this prevents mold from forming on any damp seeds.
After 5-7 days, the seeds should be completely dry and rattle when shaken in their container. Test a few by pressing your thumbnail into one—if it doesn't leave an impression, they're ready. Store dried seeds in an airtight container in a cool, dark place. Properly dried seeds can last 3-5 years this way.
Tips & tricks for perfect sunflower seed viability testing
Here's what nobody tells you about making this process foolproof every time.
Water Temperature Matters: That 90°F lukewarm water isn't just a suggestion—it's the Goldilocks zone for seed viability testing. Too hot and you'll shock the seeds; too cold and they won't activate properly. I use a kitchen thermometer to check my water temp, especially when testing seeds in cooler months. This consistent temperature ensures you get accurate results from Step 1.
Seed Selection Tip: When choosing your initial 10-20 seeds for testing, pick a representative sample from different parts of your harvest. If you're testing seeds from multiple plants, mix them together before sampling. This gives you a more accurate picture of your entire seed batch's viability rather than just testing the best-looking seeds.
Germination Environment: For that 3-5 day sprout check in Step 3, keep the paper towels consistently damp but not soaking wet. I find using a spray bottle to mist them daily works better than leaving them in standing water. The warm, dark environment of your fridge's crisper drawer creates ideal germination conditions without requiring special equipment. This controlled environment helps you get consistent results.
Drying Strategy: During the 5-7 day drying period, I recommend using a small fan on low setting to circulate air around your seeds. This helps maintain that 70-80°F temperature range while preventing mold growth. Just be careful not to blow directly on the seeds—gentle airflow is all you need. This little extra step makes all the difference in preventing moisture-related issues.
Pro Tips for Sunflower Seed Inside
- Here's what nobody tells you about making this process foolproof every time.
- Water Temperature Matters: That 90°F lukewarm water isn't just a suggestion—it's the Goldilocks zone for seed viabili...
- Seed Selection Tip: When choosing your initial 10-20 seeds for testing, pick a representative sample from different p...
Frequently asked questions
Got questions about checking the viability of sunflower seeds before drying? Here are some common ones—and their answers!
How do I know if a sunflower seed is still viable inside the shell?
Press the seed gently between your fingers. If it feels firm and plump, it’s likely viable. If it’s shriveled or hollow-sounding when tapped, it’s probably dried out. For extra accuracy, crack it open and check for a white, creamy interior—not brown or discolored!
How long can I leave a sunflower seed inside the shell before checking viability?
Check viability as soon as you harvest the seeds! Leaving them too long in humid conditions can encourage mold or rot. If stored properly in a cool, dry place, seeds can stay viable for 1–2 weeks before drying—but test them sooner rather than later for best results.
What if my seeds are still inside the shell but won’t crack open?
Try these tricks: soak the seeds in warm water for 10–15 minutes to soften the shell, or gently tap them with a hammer (not too hard!). If they’re still stubborn, place them in the freezer for an hour—the cold can help weaken the shell for easier cracking.
Can I plant sunflower seeds straight from the shell without drying them first?
Yes, but drying improves germination rates. If you’re in a hurry, crack open fresh seeds and plant them immediately in well-draining soil. Just be prepared for slightly lower success rates—dried seeds (even if viable) often sprout more reliably.
What should I do if my seeds smell musty or look moldy inside the shell?
Discard them immediately! Musty smells or fuzzy mold mean the seeds are spoiled and unsafe for planting. To prevent this, harvest seeds on dry days, store them in breathable containers (like paper bags), and avoid high-humidity areas.
Wrapping up and next steps
Discovering what’s inside a sunflower seed before drying isn’t just a fun experiment—it’s a smart way to ensure you’re working with the best seeds for your lawn or garden. By mastering this simple viability check, you’ll save time, money, and effort while boosting your success rate.
Whether you’re a seasoned gardener or just starting out, this skill is your secret weapon for thriving greenery.
Ready to put your new knowledge to work? Grab those seeds, follow your test results, and get planting! Your future sunflowers (or lawn) will thank you. 🌱✨