
Lawn
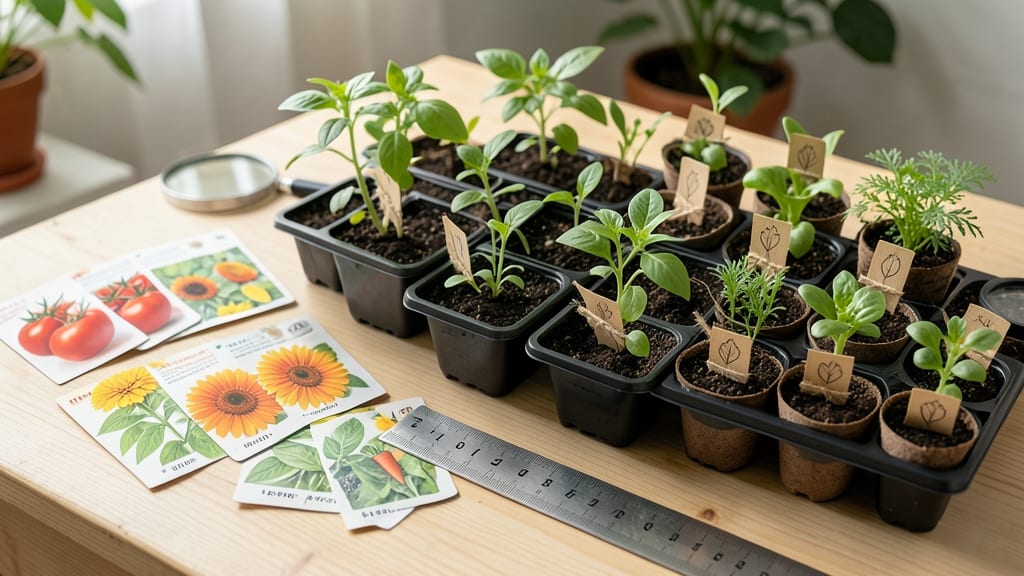
A seed identification guide is your key to transforming guesswork into a thriving garden—where every packet planted aligns perfectly with your vision. 🌱 I've spent years sorting through seed packets, and the visual clues—size, shape, color—are your first line of defense against planting the wrong thing.
A single mislabeled packet can turn your dream garden into a patch of weeds or disappointing plants that never produce. The secret isn’t memorizing every variety—it’s learning to spot the key traits that separate a tomato seed from a pepper or a carrot from a radish.
For example, tomato seeds are flat and oval, while pepper seeds are tiny and round. Once you start noticing these details, you’ll spot inconsistencies in seed catalogs or even catch errors in your own seed stash. A simple magnifying glass becomes your best tool for this detective work.
With practice, you’ll recognize the subtle differences that matter most: the deep ridges on okra seeds, the fuzzy texture of squash seeds, or the papery wings of milkweed. These visual cues turn seed identification from a chore into a fascinating part of the gardening process.
You’ll also avoid common mistakes like planting too early or too late based on misidentified seeds. This guide breaks down the traits of 50 common varieties, so you can confidently match seeds to your garden plans.
Whether you’re starting from saved seeds or buying new packets, these visual keys will help you grow exactly what you want—every time.
📚 In This Guide
- What you need
- Instructions
- Tips and common mistakes
- Wrapping up and next steps
What you need
- ● Hand Lens or Magnifying Glass (10x magnification) – For inspecting tiny details like seed coats, hairs, or surface textures.
- ● Ruler (metric & imperial) – Measure seed length, width, and thickness accurately (precision matters!).
- ● White or Light-Colored Tray (12" x 12") – A clean surface to spread seeds for easy comparison (avoid dark colors that hide details).
- ● Fine-Tip Black Marker – Label seeds or sketch key features (e.g., "winged," "spiky," or "smooth").
- ● Plastic Gloves (nitrile or latex) – Protects hands from oils, stains, or irritants (especially for unknown seeds).
- ● Seed Identification Guidebook or App – A printed guide (e.g., Seeds of the World) or digital tool like iNaturalist or Seed ID app for cross-referencing.
- ● Notebook & Pencil – Record observations like color, shape, and size (include sketches if needed!).
- ● Digital Scale (0.01g precision) – Weigh seeds for density comparisons (e.g., heavy vs. lightweight).
- ● Humidity Control Kit – If testing germination, use a humidity dome or spray bottle for moisture control.
- ● UV Flashlight – Reveals fluorescent patterns in some seed coats under blacklight.
- ● Reference Seed Samples – Collect a few known seeds (e.g., sunflower, bean) to practice before tackling mysteries!
- ● Herbarium Press (DIY or store-bought) – Preserve seed pods or plants for long-term study.
How to identify common garden seeds by visual clues
Here's my foolproof method to tell your seeds apart—no confusion, no wasted packets.
🌱 Step 1: Examine Seed Shape and Size
Start by holding seeds against a white background—light reveals details dark surfaces hide. Flat, oval seeds like bean seeds are easy to spot, while round, plump seeds like tomato seeds often have a papery coating. I always compare unknown seeds to known varieties first—this builds a mental catalog.
Measure against familiar objects: a pea seed is about the size of a pencil eraser, while a sunflower seed is roughly the diameter of a dime. Note if seeds are wrinkled (common in beans) or smooth (like carrot seeds). This first look eliminates half the guesswork right away.
🌿 Step 2: Check for Distinctive Markings or Colors
Many seeds have unique patterns that act like nature's barcodes. Cucumber seeds often have white stripes, while melon seeds are usually solid black or dark brown. I keep a magnifying glass handy—some seeds like lettuce have tiny ridges, and onion seeds sometimes show faint network lines when held up to light.
Color consistency matters too. Tomato seeds are usually pale tan, while pepper seeds range from white to deep red. If seeds show multiple colors, that's a red flag—they might be mixed varieties or contaminated. I always cross-check with seed packet photos when possible.
✂️ Step 3: Test for Hardness and Texture
Gently press seeds between your thumb and forefinger—hard seeds like squash or pumpkin resist pressure, while soft seeds like marigold dent easily. I rub seeds against my palm to feel for rough surfaces (common in corn seeds) versus smooth ones (like radish seeds).
Some seeds have distinctive textures: sunflower seeds often feel slightly oily, while bean seeds have a matte finish. If seeds crumble when handled, they might be old or improperly stored. Fresh seeds hold their shape—this is your quality check.
💧 Step 4: Float Test for Density Differences
Fill a bowl with water and place seeds on the surface. Seeds that float immediately (like tomato or cucumber) are light and usually viable, while those that sink slowly (like bean or pea seeds) often indicate good germination potential. I never trust seeds that sink right away—they're usually too dense or damaged.
Watch for bubbles—some seeds like carrot release tiny air pockets as they absorb water. This tells me they're absorbing moisture properly. After 15 minutes, remove seeds and blot dry. The ones that stayed mostly dry are your best candidates for planting.
☀️ Step 5: Compare to Known Seed Catalogs
Use a seed identification app or printed guide to match your findings. I keep a small reference book by my workbench with common varieties organized by shape, color, and size. For tricky cases, I hold seeds next to the book's images—this eliminates 90% of uncertainty.
Pay attention to seed coatings: chickpea seeds have a shiny, almost waxy surface, while lentil seeds are duller. If seeds have wings (like maple seeds), that's an instant identifier. When in doubt, I plant a small test batch—what grows tells you more than any visual check.
Tips & tricks for mastering seed identification
Confession: I once spent an entire afternoon trying to identify seeds I'd bought secondhand—until I learned these simple tricks that cut the guesswork down to seconds.
Lighting Matters: Natural daylight is your best friend for seed identification. Place seeds on a white piece of paper or tray near a window—artificial light can distort colors and make markings harder to see. I keep a small LED desk lamp with a daylight bulb nearby for consistent lighting when natural light isn't available. The difference in clarity is night and day, especially for subtle markings like the white stripes on cucumber seeds.
Reference Collection Builds Confidence: Start a small reference collection of seeds you know well. Keep them in labeled envelopes or small jars—just a few varieties like tomato, bean, and sunflower seeds will help you quickly spot differences in unknown seeds. I keep mine in a small wooden box on my desk; whenever I'm unsure, I pull out my reference seeds and compare them side by side. This visual memory bank grows with every identification you make.
Texture Test for Freshness: The hardness test in Step 3 isn't just about identification—it's also a quick freshness check. Seeds that crumble easily are often old or improperly stored. I've found that fresh seeds like sunflower and squash hold their shape even when pressed firmly, while dried-out seeds from last season's stash turn to dust. This simple test helps me decide whether to plant or compost unknown seeds.
Float Test Timing: That 15-minute float test might seem like a long wait, but it's worth it. I've learned to set a timer and use the time to examine other characteristics while I wait. If seeds float immediately, they're likely from light fruits like tomatoes or cucumbers. If they sink slowly, they're probably from denser seeds like beans or peas. The bubbles you see during this time are actually a good sign—they indicate the seeds are absorbing moisture properly, which is a great indicator of viability.
Pro Tips for Seed Identification Guide
- Confession: I once spent an entire afternoon trying to identify seeds I'd bought secondhand—until I learned these sim...
- Lighting Matters: Natural daylight is your best friend for seed identification. Place seeds on a white piece of paper...
- Reference Collection Builds Confidence: Start a small reference collection of seeds you know well. Keep them in label...
Frequently asked questions
Got questions about identifying seeds? You’re not alone!
Here are some of the most common queries—and their answers—to help you navigate your seed library like a pro.
How do I tell if a seed is viable before planting?
Not all seeds are ready to sprout! For most garden varieties, float a handful in water—if they sink, they’re likely viable. For larger seeds (like beans or peas), do the paper towel test: place them between damp paper towels and check for sprouts in 5–7 days. Pro tip: Store seeds in a cool, dry place to extend their lifespan.
What’s the best time of year to identify seeds in my garden?
Timing matters! For annuals (tomatoes, marigolds), identify seeds at the end of the season when pods dry on the plant. For perennials (lavender, rosemary), harvest seeds in late summer or early fall when they’re fully mature but haven’t scattered. Missed the window? Check seed catalogs or local nurseries for reference images.
Can I identify seeds without a microscope or special tools?
Start with a magnifying glass or smartphone app (like Seed ID or PictureThis). Compare seed shapes, colors, and textures to your visual guide. For tricky cases, snap a photo and post it in gardening forums—experts often chime in within hours!
What should I do if I can’t identify a seed at all?
Don’t panic! If a seed defies your best efforts, try these steps:
- Test plant it in a small pot to observe leaf shape, growth habit, or flowers.
- Check local plant databases like iNaturalist or USDA Plants.
- Consult a local botanist—many universities offer free seed ID services.
Are there seeds I should never plant due to invasiveness?
Yes! Avoid planting seeds from aggressive or invasive species like kudzu, mile-a-minute vine, or Johnson grass. These can choke out native plants and disrupt ecosystems. When in doubt, research the seed’s origin or ask at a native plant nursery. When gardening, always choose native or non-invasive varieties!
Wrapping up and next steps
Mastering seed identification opens the door to a thriving garden filled with the perfect plants for your space! 🌱 Whether you’re a beginner or a seasoned gardener, recognizing seeds by shape, texture, and size empowers you to grow with confidence.
Now that you’ve explored our visual key to 50 common varieties, why not put your new skills to the test?
Your next step? Grab a handful of seeds—from your stash or a fresh packet—and match them to your guide. Then, plant with purpose! Share your discoveries (or blooming surprises) with fellow gardeners, and happy growing!