
Lawn
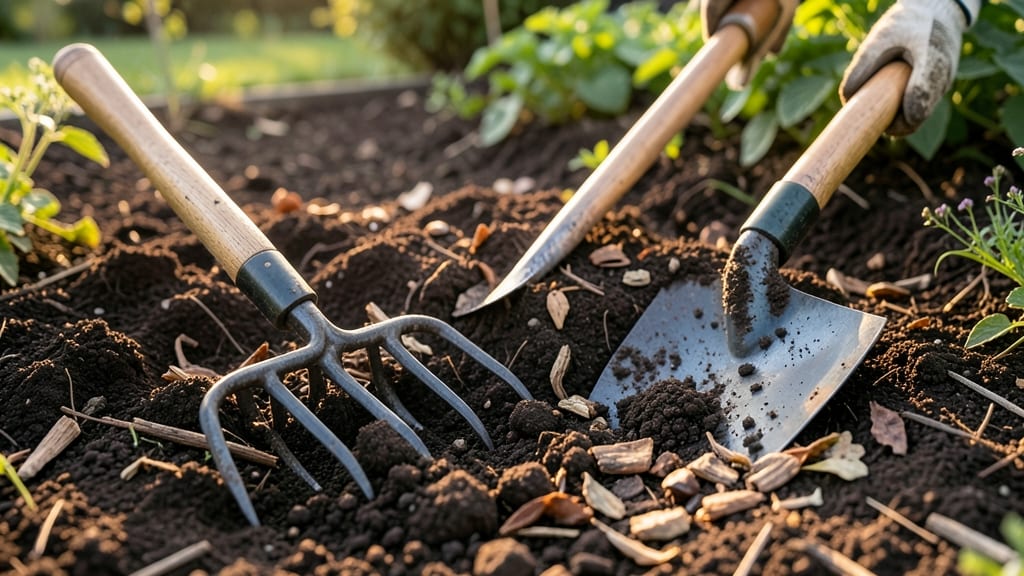
Preparing your seed bed right means the difference between seedlings popping up in days instead of weeks—or not at all. 🌱 I’ve learned that fluffy, weed-free soil with just the right moisture is what plants dream about when they’re trying to sprout.
The secret isn’t just turning the dirt; it’s creating the perfect environment where roots can stretch without fighting resistance.
Start by clearing weeds and debris—even small roots compete with your seeds for nutrients. Then, loosen the top 6-8 inches of soil with a fork or tiller, breaking up compacted layers. For heavy clay, mix in 2-3 inches of compost to improve drainage and aeration.
The goal is soil that crumbles like cake when you squeeze it, not hardpacked dirt that resists your fingers.
Level the bed with a rake, then water it deeply until moisture reaches 2-3 inches down. This keeps seeds from drying out while they germinate. A light misting afterward locks in humidity without creating mud.
When you press your finger into the soil, it should feel damp but not soggy—like a wrung-out sponge.
This method works for lawns, flower beds, and vegetable patches alike. The key is consistency: whether you’re sowing grass seed or delicate annuals, the same principles apply. Once your bed is ready, you’ll see faster germination and stronger roots that support plants all season long.
📚 In This Guide
- What you need
- Instructions
- Tips and common mistakes
- Wrapping up and next steps
What you need
- ● Garden fork or broadfork: 1 (for deep tilling—12" to 18" deep). Opt for a stainless steel or heavy-duty model for durability.
- ● Garden rake: 1 (a bow rake for leveling and a leaf rake for debris removal).
- ● Hoe: 1 (a stiff-handled, sturdy hoe for breaking up compacted soil).
- ● Garden trowel: 1 (for small adjustments or planting seeds directly).
- ● Compost or well-rotted manure: 2–3 gallons per 10 sq. ft. (check for organic matter content—aim for 5–10%).
- ○ Soil amendment (optional but recommended): Peat moss or coconut coir: 1–2 bags (for sandy soil to improve water retention).
- ● Sand or perlite: 1–2 bags (for clay soil to enhance drainage).
- ● Water source: Hose with a gentle spray nozzle or watering can (for moistening soil post-prep).
- ● Gloves: 1 pair (heavy-duty gardening gloves to protect your hands).
- ● Knee pads or cushion: 1 (for comfort during extended work).
- ● Soil test kit: 1 (to check pH and nutrient levels before amending).
- ● Mulch (straw or wood chips): 1–2 bags (to retain moisture and suppress weeds post-planting).
- ● Leveling tool: A 2x4 board or laser level for ensuring an even seed bed.
- ● Wheelbarrow: 1 (for hauling soil, compost, or amendments efficiently).
- ● Seedbed marker or string line: For marking boundaries if prepping a large area.
Step-by-Step guide to preparing a seed bed for healthy plant growth
Here's how I transform compacted soil into a fluffy, nutrient-rich haven for seeds—no fancy tools required.
🌱 Step 1: Clear and Mark Your Seed Bed
Start by removing all weeds, rocks, and debris from your chosen area. I like to use a sturdy garden fork to gently loosen the surface while pulling out any stubborn weeds by hand. Mark the boundaries with landscape fabric or simple wooden stakes if you're working in a garden bed—this keeps the area tidy and prevents accidental tilling beyond your intended space.
For a 4-foot by 4-foot bed, I aim for a working depth of 6-8 inches. You'll know you're ready when the soil surface looks clean and free of obstructions. This step ensures seeds won't compete with weeds or get buried under rocks later.
🪴 Step 2: Loosen the Soil to the Right Depth
Use a broadfork or garden fork to break up the soil to your target depth. I insert the fork at a 45-degree angle and push down with my foot, then rock it gently to create vertical cracks. Work in a grid pattern, about 6 inches apart, to avoid compacting the soil between passes. The goal is to create a loose, crumbly texture—think of it like fluffing a pillow for your seeds.
For clay-heavy soil, I add 2-3 inches of compost after loosening, then mix it in with the fork. You'll notice the soil becomes darker and easier to work with. If your soil is sandy, skip the compost and focus on breaking up the larger clumps instead.
💧 Step 3: Level and Moisten the Soil
Rake the loosened soil to create a smooth, level surface. I use a bow rake to drag the soil toward the center of the bed, then rake it back out to even everything up. This prevents low spots where water pools and high spots where seeds might get buried too deep. Run your hand over the surface—it should feel uniformly firm but still loose enough to crumble between your fingers.
Water the bed thoroughly until the soil is moist but not soggy. I like to use a garden hose with a gentle spray nozzle to avoid displacing the soil. You'll know it's right when water soaks in within a few minutes, leaving no puddles. This step ensures seeds stay hydrated as they germinate.
☀️ Step 4: Protect and Prepare for Planting
Cover the prepared bed with a layer of straw or mulch if you're not planting immediately. This keeps the soil moist and prevents erosion. I spread about 1 inch of straw evenly and leave it until planting day. For long-term protection, especially in windy areas, I use a lightweight row cover to shield the bed from heavy rain or drying winds.
Now your seed bed is ready for planting. The loose, level surface ensures seeds get the perfect start. I like to plant right away, but if you need to wait, the protected bed will stay workable for up to 2 weeks. Just remove the mulch or cover and rake once more before sowing.
⏰ Step 5: Maintain Moisture Until Germination
After planting, keep the soil consistently moist by watering gently in the morning. I use a fine mist setting on my hose to avoid disturbing the seeds. Check the moisture level by pushing your finger 1 inch into the soil—it should feel damp but not wet. Overwatering can cause seeds to rot, while underwatering leaves them dry and brittle.
Watch for the first signs of germination—tiny green shoots breaking through the soil. This is your cue that the seed bed is working perfectly. If you see any areas where seeds haven't sprouted after 2 weeks, lightly rake the surface to aerate and encourage new growth.
Tips & tricks for perfect seed bed preparation
These practical insights will help you create the ideal foundation for your plants—no matter your garden experience level.
The Depth Factor: When working to your 6-8 inch target depth in Step 1, think of it like building a sandcastle foundation. The top 2 inches will be where most roots establish, but those lower 4-6 inches provide critical stability. If you're working with rocky soil, focus on breaking up the top 4 inches first—you can always add more compost later to improve the deeper layers. This gradual approach prevents you from getting frustrated mid-project.
Tool Technique: In Step 2, the 45-degree angle and grid pattern aren't just suggestions—they're game-changers. I've found that working in a grid about 6 inches apart creates vertical cracks that actually improve drainage. Pro tip: If you're using a broadfork, press down with your foot first, then rock gently. This prevents the soil from compacting between passes, which is exactly what we're trying to avoid.
Soil Type Strategy: The instructions mention clay-heavy and sandy soils, but what about loam? For loam soil—which is already ideal—focus on maintaining that perfect crumbly texture during Step 3. I like to run my fingers through the soil after raking: if it feels like damp sandpaper, you're golden. For clay-heavy soil that's particularly stubborn, add a handful of perlite or coarse sand to help break up the clumps while mixing in that 2-3 inches of compost.
Watering Wisdom: That "moist but not soggy" test in Step 3 is crucial, but here's what nobody tells you: the best time to water is actually in the early evening. This gives the soil time to absorb moisture overnight while reducing evaporation. I've seen seeds dry out within hours when watered midday, even when the soil seemed properly moist. And remember, that gentle spray nozzle isn't just about being careful—it prevents creating mini craters that could bury your seeds.
Pro Tips for Prepare Seed Bed
- These practical insights will help you create the ideal foundation for your plants—no matter your garden experience l...
- The Depth Factor: When working to your 6-8 inch target depth in Step 1, think of it like building a sandcastle founda...
- Tool Technique: In Step 2, the 45-degree angle and grid pattern aren't just suggestions—they're game-changers. I've f...
Frequently asked questions
Got questions about preparing the perfect seed bed?
You’re not alone! Here are answers to the most common concerns—plus pro tips to make your lawn or garden thrive.
What’s the best time of year to prepare a seed bed?
The ideal timing depends on your climate and plants. For cool-season grasses (like fescue or rye), aim for early fall or late winter—soil is workable, and roots establish before summer heat. Warm-season grasses (like Bermuda or Zoysia) thrive when prepped in late spring or early summer. Always check your seed packet for specifics!
Do I need special tools, or can I use basic gardening supplies?
You don’t need a fancy setup! A shovel, rake, and garden hoe are all you need for most projects. For larger areas, a rototiller speeds up the process. Pro tip: Rent one if you’re prepping a big space—it’s worth the investment for heavy soil. Just avoid tilling if your soil is already loose or you’re planting delicate seeds.
What if my soil is rocky or full of debris? Should I remove everything?
Not necessarily! Remove large rocks (bigger than a golf ball) and debris like branches, but leave smaller stones—they won’t harm roots. Sift out trash or roots from previous plants. For clay-heavy soil, mix in compost or sand (50/50 ratio) to improve drainage. Overworking rocky soil can create a crust, so focus on loosening the top 4–6 inches.
How do I know if my seed bed is ready for planting?
Your seed bed is perfect when the soil is:
- Loose to a depth of 4–6 inches (like crumbled cake).
- Moist but not soggy—squeeze a handful; it should hold shape but not drip.
- Level or gently sloped (no low spots where water pools).
- Free of weeds or competing plant debris.
Can I reuse last year’s seed bed soil, or should I refresh it?
Refreshing is key! Old seed beds often compact or lose nutrients. Remove the top 2–3 inches of soil and replace it with fresh topsoil or a compost mix. Add a slow-release fertilizer (like 10-10-10) or organic matter (like peat moss) to boost fertility. If you’re planting the same area yearly, rotate crops or test soil pH—some plants deplete nutrients faster than others.
Wrapping up and next steps
Preparing a seed bed with loose, nutrient-rich soil is the foundation for thriving plants and a lush lawn. 🌱 By following the right steps—clearing debris, aerating, and amending the soil—you’re giving your plants the best chance to grow strong roots and flourish.
Don’t let perfection hold you back; even small improvements make a big difference!
Ready to take the next step? Start small—pick a section of your lawn or garden and test your new skills. Track your progress, adjust as needed, and soon, you’ll be a pro at creating the ideal seed bed. Happy gardening!