
Lawn
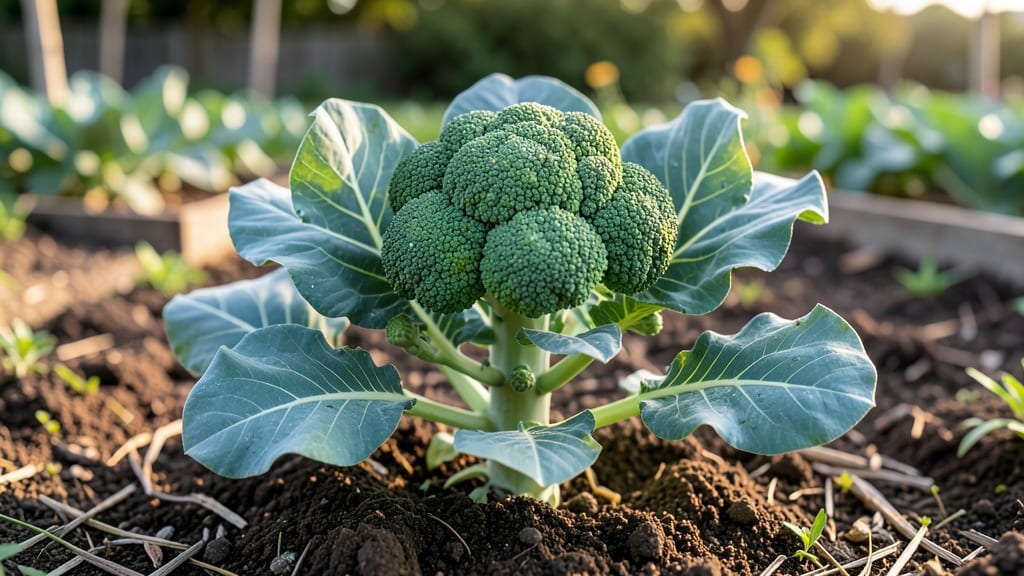
Harvesting broccoli seed pods turns kitchen scraps into next year's garden gold. 🌱 I used to toss those tough stems after eating the florets, but now I collect them for free, organic seeds that grow plants even better than store-bought ones.
The process is simpler than you'd think—no twisting, no guessing, just patience and a little know-how.
Start by letting mature broccoli plants bolt naturally after harvest. When the seed pods turn brown and papery (usually 4-6 weeks after flowering), they're ready.
Cut the stems, hang them upside down in a dry, dark place for 2-3 weeks to finish drying—this ensures maximum seed viability without any fancy equipment.
Once dry, gently rub the pods between your fingers to release the tiny black seeds. Store them in an airtight container in a cool, dark spot until planting time next spring.
These seeds will grow into hardy brassicas that resist pests better than nursery starts and save you money every season.
For best results, sow seeds indoors 6-8 weeks before your last frost date. Keep the soil consistently moist (not soggy) and provide bright light. Young seedlings need gentle care—no harsh fertilizers yet—and they'll be ready to transplant when they have 4-6 true leaves.
Your zero-waste garden circle just got one step closer!
📚 In This Guide
- What you need
- Instructions
- Tips and common mistakes
- Wrapping up and next steps
What you need
- ● Mature broccoli plants: Choose healthy, fully grown plants with open seed pods (usually brown or tan). Aim for 3-5 plants for a decent seed yield.
- ● Sharp pruning shears or scissors: A pair with clean, sterilized blades to avoid damaging pods or spreading disease.
- ● Paper bags or brown lunch bags: 3-5 bags (one per plant) to collect pods and dry them.
- ● Newspaper or seed drying tray: A flat surface (like a baking sheet) lined with unbleached paper to spread pods for drying.
- ● Fine-mesh strainer or sieve: A small, sturdy sieve (¼-inch mesh) for separating seeds from chaff.
- ● Air-tight glass jars or seed envelopes: 2-3 jars (4 oz size) or 5-10 envelopes for storage. Label with the year!
- ● Glove: A pair of lightweight gardening gloves to protect hands from prickly pods.
- ● Fan or dehumidifier: Speeds up drying in humid climates (place pods near a gentle airflow).
- ● Food dehydrator: Set to 95°F (35°C) for 2-4 hours if you’re in a rush.
- ● Magnifying glass: Helps spot small, viable seeds hidden in chaff.
- ● Humidity pack: A silica gel packet in storage jars to keep seeds dry long-term.
Step-by-step instructions for harvesting broccoli seed pods
Here's how I save seeds from homegrown broccoli—no twisting required, just simple patience and care.
🌱 Step 1: Select the Healthiest Mature Broccoli Heads
Choose fully mature broccoli heads that are yellowing and drying on the plant—these are ready for seed saving. Avoid heads that bolted too early or show signs of disease. The center florets should feel dry and papery when touched, signaling the seed pods inside are fully developed.
Cut the entire head from the stem and hang it upside down in a dry, well-ventilated spot. I use a mesh bag or paper sack to allow airflow while keeping seeds contained. This drying process takes 2-3 weeks in warm conditions or longer if humidity is high.
🌿 Step 2: Remove and Dry the Seed Pods
Once the head is completely dry, use your fingers to gently separate the individual seed pods from the stem. You'll see small, elongated pods that look like tiny beans—these contain the seeds. Spread them on a clean, dry surface in a single layer to finish drying for another 1-2 weeks until they rattle when shaken.
Here's the thing—don't rush this step. Overly moist pods won't store well, and you'll lose viability. I check daily by giving them a little shake; if they don't sound like tiny maracas, they need more time.
💧 Step 3: Clean and Store the Seeds
Place the dried pods in a paper bag and shake vigorously to release the seeds. The chaff will blow away, leaving you with clean, viable seeds. I repeat this process 2-3 times for thorough cleaning. Once clean, transfer seeds to an airtight container or envelope and label with the variety and harvest date.
Store in a cool, dark place (like a pantry) where they'll remain viable for 3-5 years. The key is keeping them dry—moisture is the enemy of seed storage. I add a small packet of silica gel to my seed containers as extra insurance.
☀️ Step 4: Test Seed Viability Before Planting
Before using saved seeds, test viability by placing 10 seeds between damp paper towels in a sealed container. Keep them in a warm spot (70-75°F) and check daily. If 50% or more sprout within 7-10 days, your seeds are good to plant. If germination is poor, try storing them in the refrigerator for a month to break dormancy.
Real talk: I've had years where seeds germinated at 90%, and others at only 60%. Don't be discouraged—even lower viability means you'll get plenty of starts. Just plant a little extra to account for variability.
Tips & tricks for perfect broccoli seed pod harvesting
Here's what I learned after saving seeds from my garden for years—these little tricks make all the difference between usable seeds and wasted effort.
Selection Tip: Look for broccoli heads that are completely yellow and starting to dry out, not just turning yellow at the edges. The center florets should feel crispy and papery—this tells me the seed pods inside are fully mature. I've learned to avoid heads that still have any green florets or show signs of pests, as these won't produce viable seeds.
Drying Strategy: The 2-3 week drying time in Step 1 is non-negotiable, but I've found a trick to speed things up slightly in humid climates. Place your hanging broccoli head near a fan (not directly in airflow) to improve air circulation. This can shave off 2-3 days while still preventing moisture buildup. Just check daily by giving the pods a little shake—when they rattle like maracas, they're ready for the next step.
Storage Wisdom: Beyond the airtight container, I've had the most success with these extra precautions: place a small packet of silica gel or a few rice grains in your seed container to absorb any lingering moisture. Also, I always store my seeds in the refrigerator for the first month after harvesting, then move to a cool pantry. This two-step approach has kept my seeds viable for up to 5 years. The cold helps break any remaining dormancy while preventing mold growth.
Viability Test: When testing your 10 seeds at 70-75°F, I've noticed that placing the damp paper towels in a clear plastic bag creates a mini greenhouse effect that speeds up germination by 1-2 days. Just poke a few tiny holes for airflow. If you're impatient, you can also try soaking the seeds in warm water for 12 hours before testing—this often reveals their true viability faster than the standard method.
Pro Tips for Broccoli Seed Pods
- Here's what I learned after saving seeds from my garden for years—these little tricks make all the difference between...
- Selection Tip: Look for broccoli heads that are completely yellow and starting to dry out, not just turning yellow at...
- Drying Strategy: The 2-3 week drying time in Step 1 is non-negotiable, but I've found a trick to speed things up slig...
Frequently asked questions
Got questions about harvesting broccoli seed pods? You’re not alone! Here are answers to the most common queries to help you master zero-waste gardening with ease.
Can I eat broccoli seed pods like regular broccoli?
No, broccoli seed pods (the dried, papery pods) aren’t edible like florets. They’re purely for saving seeds or composting. However, you can harvest the small, tender side shoots that grow from the main stalk—just snip them like you would regular broccoli!
When is the best time to harvest broccoli seed pods?
Wait until the plant bolts (sends up a tall flower stalk) and the pods turn brown, crisp, and papery—usually late summer to early fall. Harvest them on a dry day, then let them dry indoors for 1–2 weeks before storing. Pro tip: Shake pods gently over paper to collect seeds easily!
What if my broccoli pods won’t dry properly?
Humidity or rain can cause pods to mold. If they feel damp or smell funky, spread them in a single layer on a mesh screen or paper towel in a well-ventilated spot (like a garage with a fan). Avoid plastic bags—they trap moisture!
Are there alternatives to saving broccoli seeds?
If seed-saving isn’t your goal, use pods for:
- Compost: Tear pods into compost bins (they break down quickly!).
- Crafts: Tie dried pods into wreaths or fill vases for rustic decor.
- Animal bedding: Shredded pods work as lightweight litter for small pets.
How do I store broccoli seeds long-term?
Once fully dry, store seeds in a cool, dark place (like a sealed jar in the fridge) for up to 3–5 years. Label with the variety and date! For extra protection, add a silica gel packet to absorb moisture.
Wrapping up and next steps
Harvesting broccoli seed pods is a simple yet rewarding way to embrace a zero-waste garden while ensuring your plants thrive for seasons to come! 🌱 By following the right steps—like waiting for pods to mature, drying them properly, and storing them correctly—you’ll unlock a sustainable cycle of growth.
This method isn’t just eco-friendly; it’s a cost-effective way to save seeds and reduce food waste.
Ready to put your new skills to the test? Start small—grow a few extra broccoli plants this season and practice harvesting those seed pods. Before you know it, you’ll be a seed-saving pro, sharing your knowledge with fellow gardeners or even swapping seeds with neighbors! 🌟